Finishing a cake is an exciting thing, especially those custom-made cakes. You will arrange your cake carefully. Maybe it is just a very simple thing in the eyes of others, but only those who participate in it personally People, those who are in it can appreciate the difficulty, or the fun.
So there is an extremely important and key step in the process of placing the cake, which is to put the cake from the turntable to the stand. This is key because the last thing you want is to spoil the cake yourself before it's in front of others!

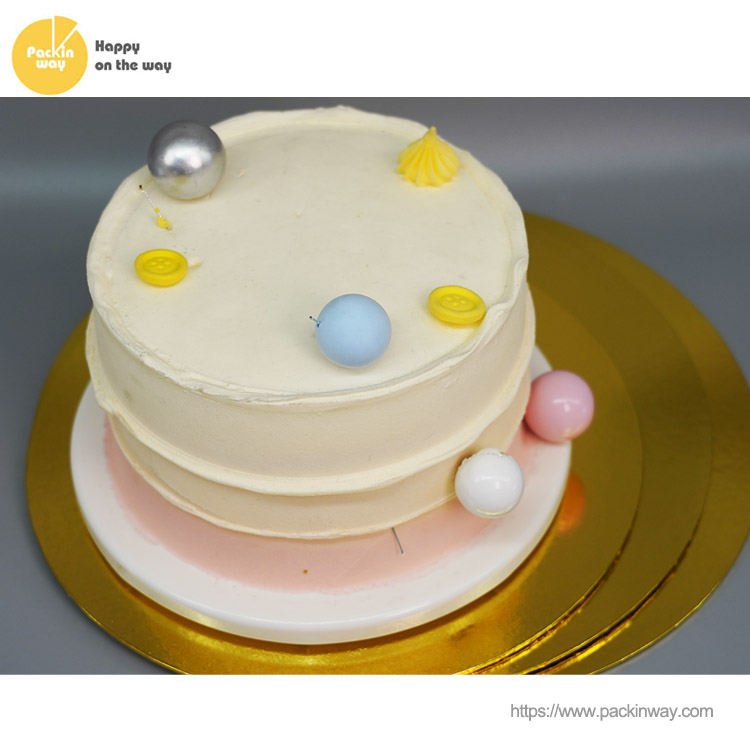
So how do you perfectly transfer a cake?
So the following steps and details are very critical.Hope you will be clear when you watched these few step.
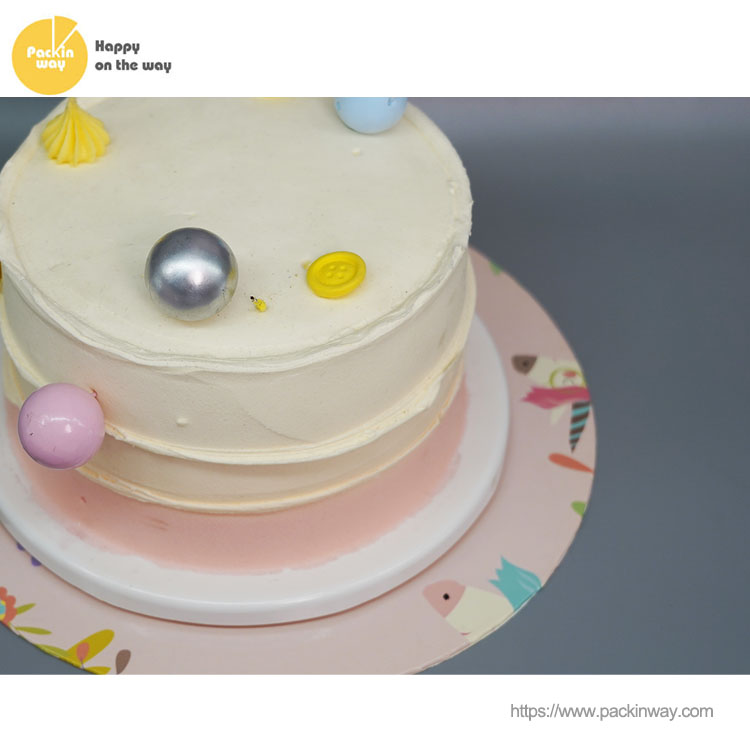
First, make sure the cake has a solid foundation, for example, you can use cake board/cake base board/cake circle of different materials or thickness. This is very important, about choosing the right cake board, you can refer to the following points.
Some novices will be confused when choosing a cake board because there are many styles of cake boards on the market.
First from the cake board material introduction
First of all, we need to briefly understand what materials and thicknesses cake boards have, and how are they applied?
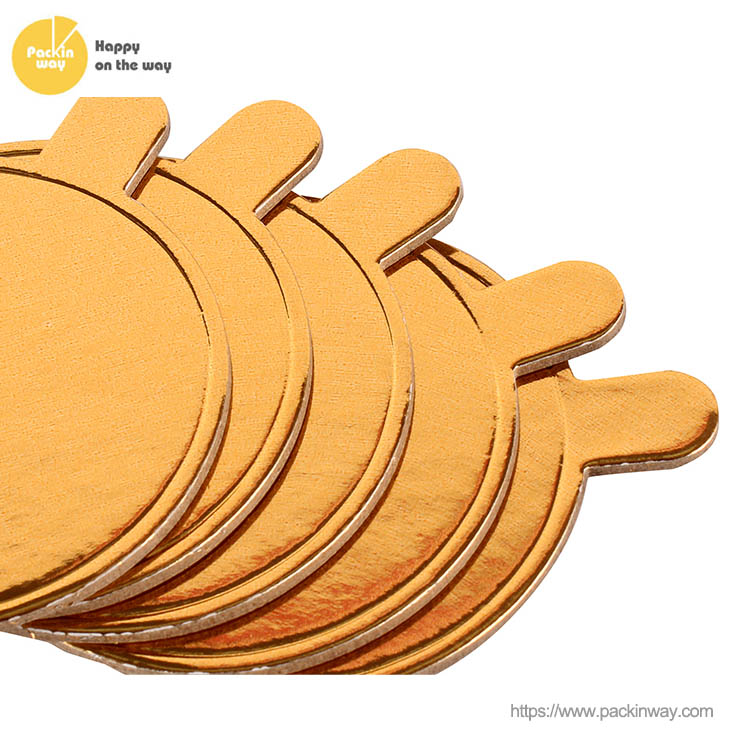
Cake base board-with corrugated material
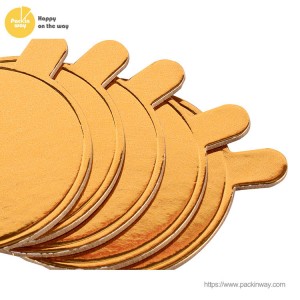
The cake board of this material is very thin, widely used, and very cheap.
It can be used to hold small cakes, cupcakes, or at the bottom of multi-layer cakes to support each layer, because the material is relatively thin, so when they are placed in the middle of the cake layer cake will be very invisible, they are very thin so you can hardly see their existence in the middle, and they can play a very good role without destroying the structure of the cake.
The disadvantage is that this material is very thin, so it cannot withstand heavy cakes alone, and cannot be used to transfer heavy cakes. So you may need more cake boards of different materials and thicknesses.
Cake board-with hardboard/grey paper material
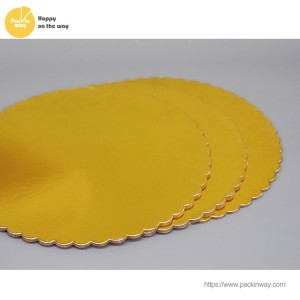
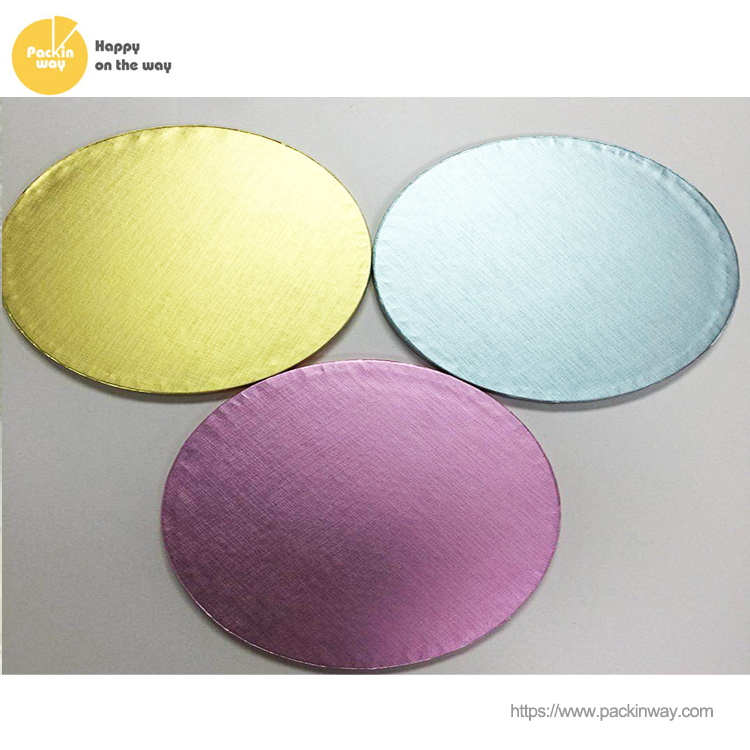
The thickness of this material is generally 2mm 3mm 5mm, and the material is harder than corrugated paper, so it can bear heavy cakes, and it can bear at least 10kg for cake transfer. The surface material is aluminum foil, generally there are different colors to choose from, and the material is waterproof and oil-proof. Its surface is die cut, if you want to be more oil-proof and waterproof, you can choose wrapped edge, which will also be more beautiful.for the wrap edge we recommend 3mm thick.
Cake drum-with corrugated paper material
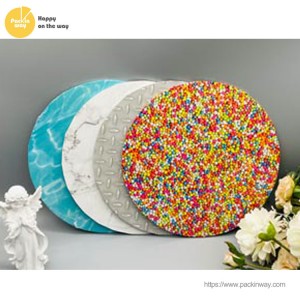
The common thickness of cake drum is 12mm. Their edges are divided into smooth edge and wrapped edge. If you like a smoother edge, you can choose smooth edge. Because the edge of the material will have wrinkles, not very beautiful.Its material is aluminum foil and then comes with different patterns. Generally used for relatively large wedding cake boxes and multi-layer cakes.
MDF board-with masonite board
MDF board is the thickest of all materials, and its hardness is equivalent to wood, so it is very suitable for bearing large, heavy multi-layered cakes. Moreover, the edge of the board is very smooth, so the edge of the hemming will be smooth without too many wrinkles, which is beautiful. And you can also custom print different patterns and colors.
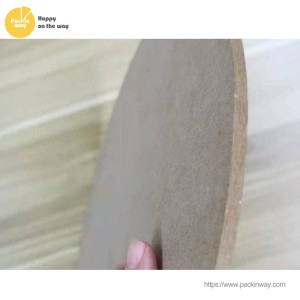
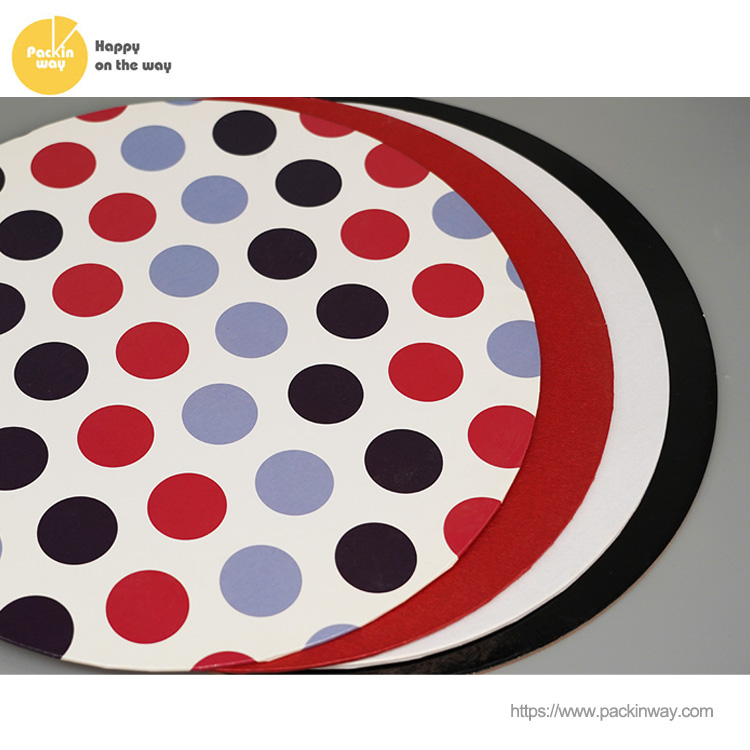
All of the cake board can be customized with different color or pattern.If you want to put you bakery name on the cake board then that will be a very good way to promote your bakery and a great advertisement.
These cake boards can be found online or in bakery supply packaging stores. If you want to buy cake boards in small quantities and at a cheaper price, you can find them at Sunshine bakery packaging company. We are a manufacture and can provide the cake board with small MOQ.
We provide a one-stop bakery product service, and we can also customize products with your company and store logo for you, as long as you can think of it, we can do it.
Step Two, make sure the cake is chilled
You need to make sure your cake is in the frozen state, before moving the cake, make sure the cake is well chilled, you want to put it in the freezer for 30 minutes or more. This keeps the surface of the buttercream smooth and firm so that if you touch the surface of the cake during the transfer, you won't easily get fingerprints and damage to the surface of the cake.
Step Three, Heat the Spatula
Once the cake has cooled, run an angled spatula under hot water for a few seconds, then towel dry thoroughly. A heated spatula will give you a smooth edge as you pry the cake.
Sunshine provide all kindly of bakery tool so you can check all of them here.
Step Four, Release the Cake From the Turntable
Now that the spatula is hot, slide it along the bottom edge of the cake to remove it from the turntable. You want to keep the spatula as close and parallel to the turntable as possible so the bottom edge of the cake is clean. As you swirl, the seal between the brioche and turntable will be completely released. Once you have the entire cake baked, use a spatula to lift up the underside of the cake.
Step Five, move the cake
Gently lift up one side of the cake with a spatula and slide one hand under the cake. Remove the spatula and place your free hand under the cake and slowly lift it up.
Once you have the cake on the stand, gently lower the cake and lift one side of the cake to rotate the cake around where you want it. Then, slide the angled spatula back down, gently lowering the edges of the cake, and remove the spatula.
Finally, you can check the integrity of the cake and make repairs.The above is a very simple step, mainly to test our patience.If you want to know more about baking and baking packaging, keep an eye out for more surprises with our ongoing output!
If you are in business,You may like
Post time: Feb-21-2023
